A 90-day playbook to run your first robotic task on an active jobsite
Task selection, safety coordination, BIM integration, and how to measure what actually matters
Why most pilots fail in the first 30 days
The most common failure mode in a first construction robot deployment is not equipment failure. It is organizational failure: the wrong task was selected, the site was too complex for the machine's operating envelope, the trades weren't briefed on coordination requirements, or the measurement framework wasn't established before deployment began.
By the time the robot arrives on site, most of these failure modes are already locked in. The 90-day structure in this article is designed to prevent them — with 30 days of preparation before the robot arrives, 30 days of managed operation, and 30 days of analysis and decision-making.
This playbook assumes a layout or surveying robot deployment on a commercial construction project. Adapt the specific phases for demolition, scanning, or other task classes as noted.
Phase 1 (Days 1–30): Preparation before the robot arrives
Week 1–2: Task and site selection
The robot should be matched to the task and site before a vendor is engaged. Use the scoring matrix from Decision framework: is your project robot-ready? to evaluate candidate tasks and sites. The selection criteria:
Task characteristics:
- High repetition with consistent conditions (layout for a floor plate with many repeated room configurations or large open slab)
- Strong digital input (a BIM model exists, is current, and has been through a coordination review)
- Failure is visible and correctable (an incorrect layout line can be checked and remarked before the next trade proceeds)
Site characteristics:
- Active but not at peak trade density — you want the robot working in a window with predictable floor access
- Flat, clean concrete (for layout and wheeled robots): avoid areas with significant debris accumulation, standing water, or steep grade changes
- Adequate ceiling clearance for the robot's height profile; check the spec sheet
- Control points established and documented (the robot needs survey control to register its position; confirm your survey crew has set adequate control before the robot arrives)
Avoid for a first deployment:
- Multi-trade congestion zones where access is unpredictable
- Areas with significant overhead work happening simultaneously
- Areas where the BIM model is under active revision
Week 3–4: Pre-deployment planning
BIM model preparation. This is typically the most time-consuming pre-work. Most layout robots import data in a specific format (often DXF or proprietary). The model must be:
- Coordinated to the site's survey control coordinate system
- Cleaned of duplicate geometry and irrelevant layers
- Exported in the robot's required format and validated by the vendor before site arrival
Budget a minimum of 3–5 days of BIM coordinator time for this, more if the model has known coordination issues.
Site safety plan update. The robot must be added to the site safety plan. This requires:
- Defining the robot's operating zones and exclusion procedures
- Identifying who has authority to halt the robot if a safety issue arises (this must be clearly communicated to ALL trade supervisors, not just the operator)
- Establishing the zone-clearance protocol: who is responsible for clearing the area before each run, and what signal communicates that clearance is confirmed
- Briefing the GC safety manager and getting sign-off before robot arrival
Trade coordination briefing. Hold a pre-construction meeting specifically for robot deployment. Attendees: robot operator (or vendor rep), GC superintendent, all trade foremen currently active in the robot's work zone. Cover:
- What the robot does and doesn't do (most trades have never seen one)
- The zone-clearance protocol
- What to do if a trade crew member encounters the robot running unexpectedly
- Contact for questions and issues
Do not skip this meeting. The failure mode of a worker kicking a robot "to see what happens," or a forklift inadvertently entering the robot's active zone, is real and avoidable with briefing.
Establish your measurement baseline. Before the robot runs, document your current performance on the same task manually:
- Cycle time: how long does the current crew take to complete the equivalent task (e.g., layout for one floor plate, or one 10,000 sq ft zone)?
- Rework rate: what percentage of layout work on recent projects required rework before the next trade proceeded? Pull this from job-cost records if available.
- Crew composition and wage cost: who does it today and what does it cost per unit of work?
This baseline is non-negotiable. Without it, your post-deployment analysis is a vendor success story, not a business evaluation.
Phase 2 (Days 31–60): Managed operation
Week 5–6: Supervised initial runs
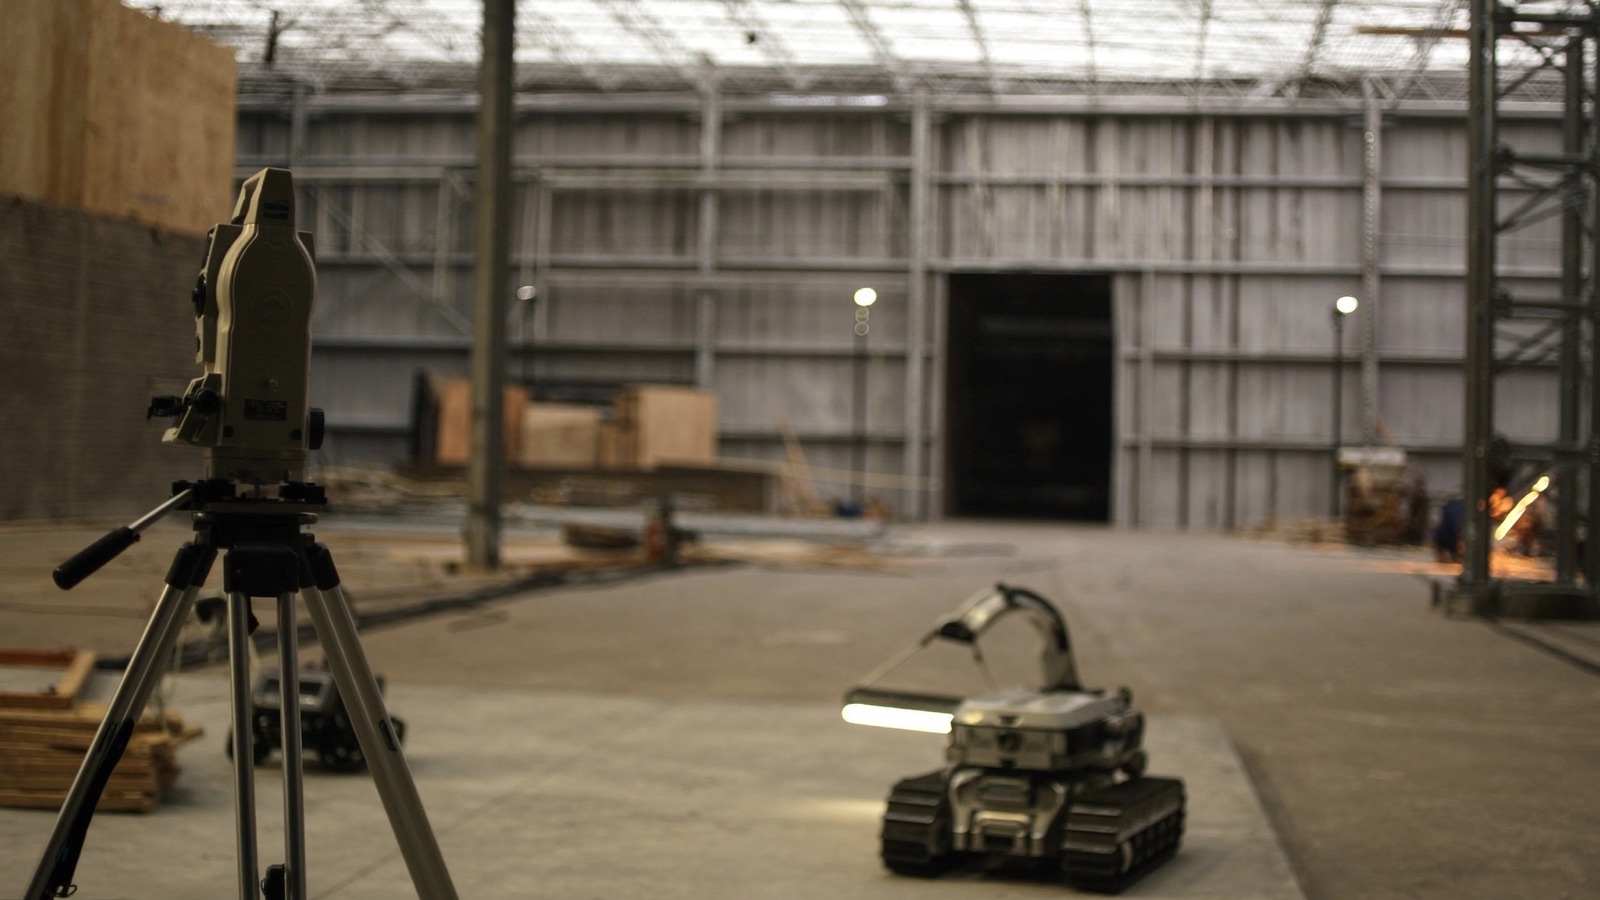
Site arrival and registration. The robot's first task on site is registration — establishing its position in the site's coordinate system. For most layout robots, this involves the operator setting up a total station (or using the robot's onboard total station if equipped) and sighting known control points. This step should be supervised by your survey crew for the first deployment. Errors in registration propagate through every subsequent operation.
Allow a full day for site arrival and registration on a first deployment, even if the vendor quotes two hours. Setup time on an unfamiliar site with unfamiliar crew coordination always takes longer than the estimate.
Initial runs: supervisor-observed. For the first 3–5 operational runs, your superintendent or a designated site supervisor should observe and note:
- Actual cycle time (compare against vendor estimate and your manual baseline)
- Zone-clearance overhead: how much time is spent clearing the area before each run?
- Any site conditions that required the operator to pause, reroute, or abort a run
- Any integration issues with the BIM model (geometry that doesn't match site conditions, control point drift)
- Operator's time to set up and break down at start and end of each shift
This observer role is distinct from the spotter. The spotter is safety. The supervisor observer is performance documentation.
Common early issues and responses:
| Issue | Likely cause | Response |
|---|---|---|
| Robot consistently stops in the same area | Obstacle, poor surface, control point line-of-sight break | Survey the area; clear the cause; do not simply restart and hope |
| Marks placed with consistent offset from intended position | Registration error | Have survey crew verify control points; re-register if needed |
| BIM-to-field discrepancy | As-built conditions differ from model | Document the discrepancy; update model; do not force the robot to work from wrong geometry |
| Zone-clearance taking >15 min per run | Trade coordination isn't working | Revisit briefing; adjust scheduling so robot runs in scheduled windows agreed with trades |
Week 7–8: Independent supervised operation
After the initial runs, reduce direct supervision while maintaining documentation. The operator should be running the robot independently; your role is periodic observation and data collection.
Data to collect per run:
- Start and end time
- Area completed (sq ft, linear feet, or your task unit)
- Number of pauses/interruptions and cause (safety, equipment, site condition)
- Any marks that required correction after the run
Operator feedback sessions. Conduct a short debrief (15 minutes) with the operator once per week. Ask:
- What site conditions are creating the most friction?
- What would make the next run more efficient?
- Are there tasks in the work queue that you'd recommend against running with the robot?
This is the fastest way to learn where the machine's operating envelope actually ends in your specific project context.
Phase 3 (Days 61–90): Analysis and decision
Week 9–10: Data aggregation
Pull together your deployment data:
Performance summary:
- Total area/units completed by robot
- Total robot operating hours
- Robot-driven cost per unit (operator cost + allocated equipment cost / units completed)
- Manual baseline cost per unit
- Rework events attributable to layout (compare during robot period vs pre-robot period if data exists)
Overhead documentation:
- Total hours spent on zone clearance per week
- Total hours spent on BIM preparation before robot runs
- Any survey crew time required for registration support
- Total mob/demob hours (if the robot was moved within the site)
Utilization analysis:
- What percentage of the robot's available on-site time was it actively running?
- What percentage was it idle due to: zone-clearance wait, BIM issue, equipment issue, site condition?
Week 11–12: Structured decision-making
The deployment has produced enough data to answer the deployment question seriously. Structure the analysis around these three outputs:
1. Realistic unit economics. What did the robot actually cost per unit of work on this project, fully loaded (including all overhead you documented)? What does manual labor cost per unit on this project? What is the real margin?
2. Utilization ceiling. Based on observed idle patterns, what utilization rate could you realistically achieve on this project type? On your full project portfolio?
3. Extrapolation to acquisition model. If the deployment was RaaS, apply the observed utilization and unit economics to the capex model — would ownership at this utilization level be positive or negative? If it was owned equipment, validate your original utilization assumption against what actually happened.
The decision framework:
| Outcome | Recommended next step |
|---|---|
| Positive unit economics + utilization > 60% | Evaluate scale-up on same project type; evaluate ownership if RaaS |
| Positive unit economics + utilization 30–60% | Look for complementary project types that could fill utilization gaps; defer ownership |
| Marginal or negative unit economics on this project type | Identify specific cause: wrong task selection, site conditions, or fundamental economics? Determine if a different task/project type would be positive before continuing |
| Positive economics but operator-constrained | Invest in second operator training before acquiring; pipeline risk is real |
Measurement checklist
Use this checklist to confirm your deployment documentation is complete before the decision phase:
- Manual baseline cost per unit documented before robot deployment
- Robot operating hours logged per run (not just total deployment duration)
- Zone-clearance overhead logged per run
- BIM preparation hours logged (often forgotten in post-deployment analysis)
- Rework events tracked and attributed
- Mob/demob time logged
- Operator feedback documented weekly
- Any runs aborted or significantly modified due to site conditions documented with cause
What to tell your team
A successful first deployment doesn't end at Day 90. It ends when leadership has a clear, data-backed recommendation.
Prepare a one-page summary with:
- What task was evaluated, on what project type
- Robot cost per unit vs manual baseline
- Fully-loaded utilization rate achieved
- The three conditions under which this deployment model would be positive across your project portfolio
- A recommended next step: expand, pause, or exit
Avoid the "the pilot was successful" framing. Be specific about where economics were positive, where they weren't, and what project conditions drove the difference.
What comes next
The deployment data and experience also inform your next vendor engagement — specifically, the questions to ask before signing a contract for a larger deployment and the red flags that distinguish vendor confidence from vendor hype. That evaluation framework is in the final article: The construction robot vendor RFP: questions and red flags.
Discussion
0 commentsNo comments yet. Sign in to be the first.